Pinhole Camera, Technique 1
Mounting a pinhole in front of a standard camera body
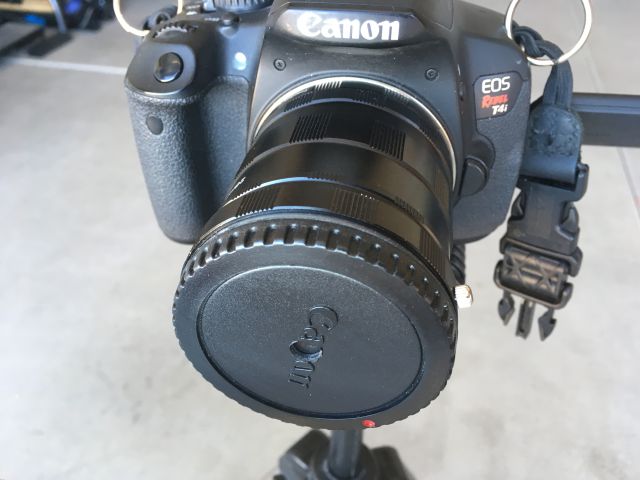
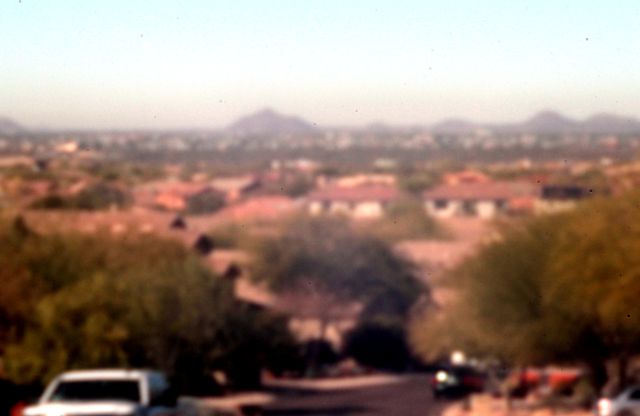
The photograph above shows my Canon T4i digital single lens reflex (SLR) camera body with a body cap that contins a commercially-made pinhole which I purchased from "Pinhole Resource." The pinhole has a diameter of only 0.29mm and produces an extreme depth of field. I have it mounted on a set of extension tubes for the photographs that follow. The resolution of the resultant picture is determined by the size of the pinhole: the smaller the pinhole hole the better the resolution. The two photographs below show two distant views from my driveway taken through this pinhole.

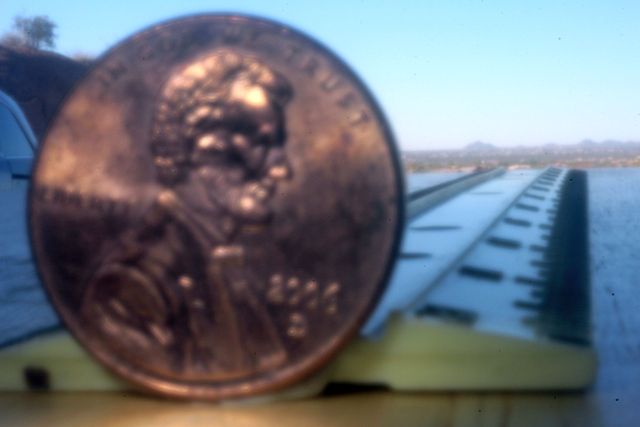
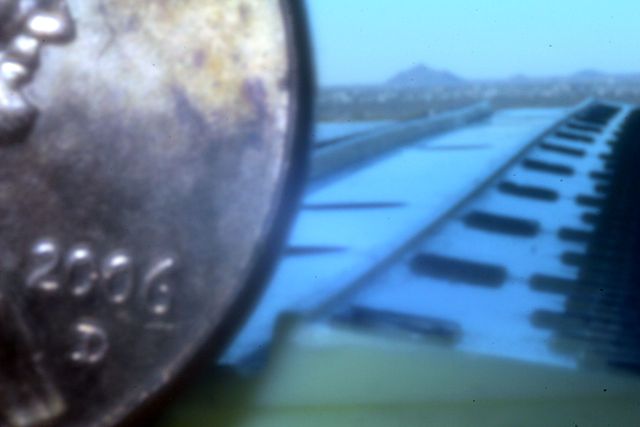
To illustrate the extreme depth of field, I positioned the camera to view past a vertical penny, down the length of a plastic ruler, and toward the distant horizon.
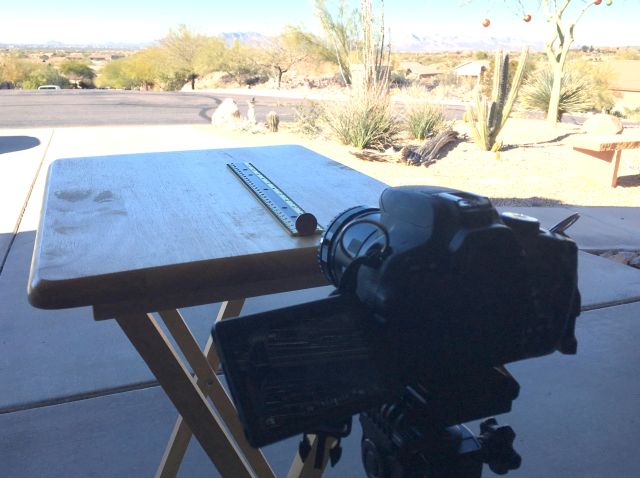
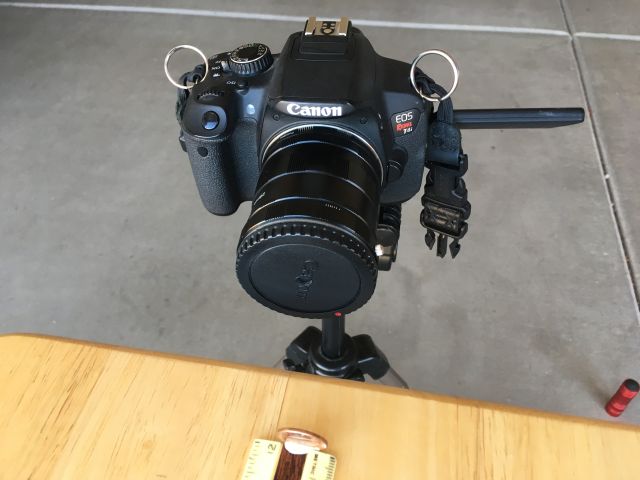
The next two images provide the result. The first image was made with the pinhole mounted directly on the camera without the extension tube, and the second was made using the extension tube. Notice the differences in the resultant magnification of the distant horizon. The magnification of the near object (the penny) is governed by the distance between the pinhole and the object.
The next task will be to make my own pinhole apparatus and use it for experimentation with different sized pinholes, all of which will be larger than the commercial pinhole that I used on this page thus far. This part of the project is ongoing and the results will be posted when I get them.
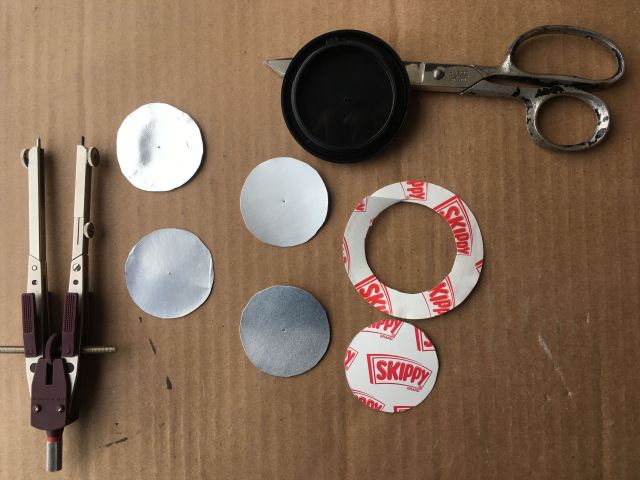
You might be amused by my source materials. I measured my pinhole diameters in millimeters to be the following: 2.0, 1.5, 1.0, 0.8 and 0.7. They will all have less resolution than the 0.29mm pinhole that is provided by the commercial unit that I have used for this exercise.
To compare the resolutions of pinholes of various diameters, I set up my Canon T4i camera to image the foothill behind my home, shooting through a 1/4 inch "rabbit fence" that I have used primarily to prevent rabbits and, more importantly, snakes, from entering my yard. The pinhole diameters vary systematically from largest to smallest, as outlined in the previous paragraph. The second last image was made through a 0.7 mm pinhole that is "fuzzy" with some paper fibers from the Skippy jar lid extending into the home-made pinhole. Notice how this fuzziness deminishes the contrast within the image.


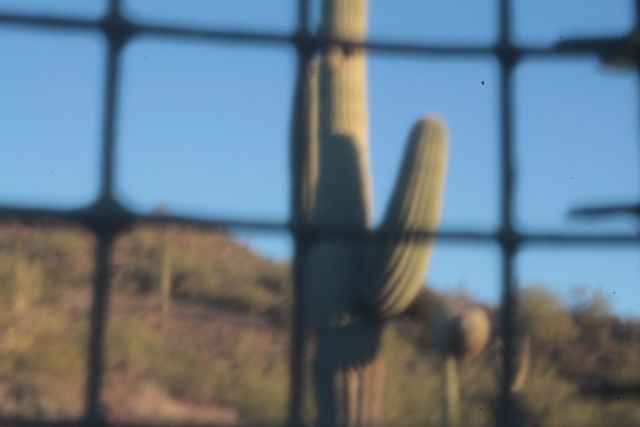


In the above series, notice how the last image, which was photographed through the 0.029 mm commercially-produced pinhole, has the best resolution and the best contrast.
So, can pinhole photography be used for photographing the night skies? What follows is my effort to use pinholes with a bright constellation, Orion, and the brightest star, Sirius. The struggle here is between providing more aperature and consequently losing resolution, or trying to achieve better resolution with loss of illumiation. All images that follow were taken with my Canon T4i digital camera set at an ISO value of 12400, which is its maximum. The pinhole sizes, in millimeters, used in taking the next four images of Orion were 2.0, 1.5, 1.0, and 0.8. The exposure times for the next four images of Orion, in minutes, are 8.25, 8.5, 9, and 13.1.
All the views above are of the constellation Orion imaged through pinholes. Conclusion: Nothing productive has resulted.
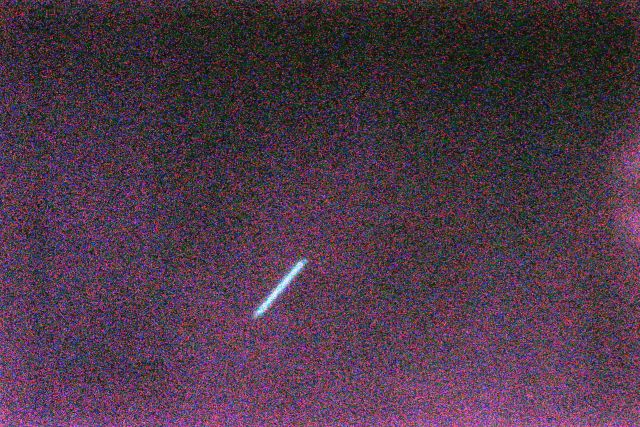
The image above is of the brightest star in the sky, Sirius, imaged through a 0.8mm pinhole for an exposure of 12.5 minutes. The previous conclusion applies to this image too.
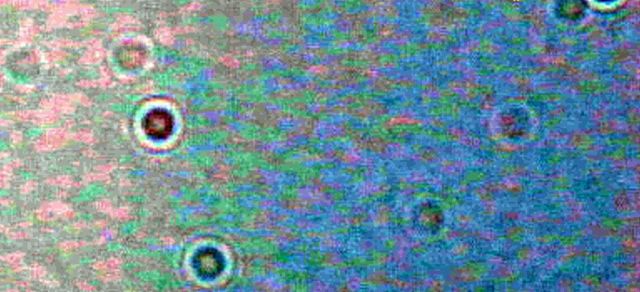
The image above is a novel use of my smallest pinhole (0.29mm diameter) on my digital single lens reflex camera (DSLR). I used it to create an image of the featureless blue daytime sky. Then I imported the image into my computer and enhanced the contrast of the image. I then enlarged the image to a high magnification and again increased the contrast of this very small area ofthe image. Any dust motes on the sensor chip conspicuously stand out on this image. Bold diffraction patterns are created by light passing by the small particles that are on the surface of the UV and IR filters that are the transparent surfaces directly above the imaging chip elements.
Not surprisingly, I cleaned the sensor chip of my Canon T4i shortly after taking the image above.